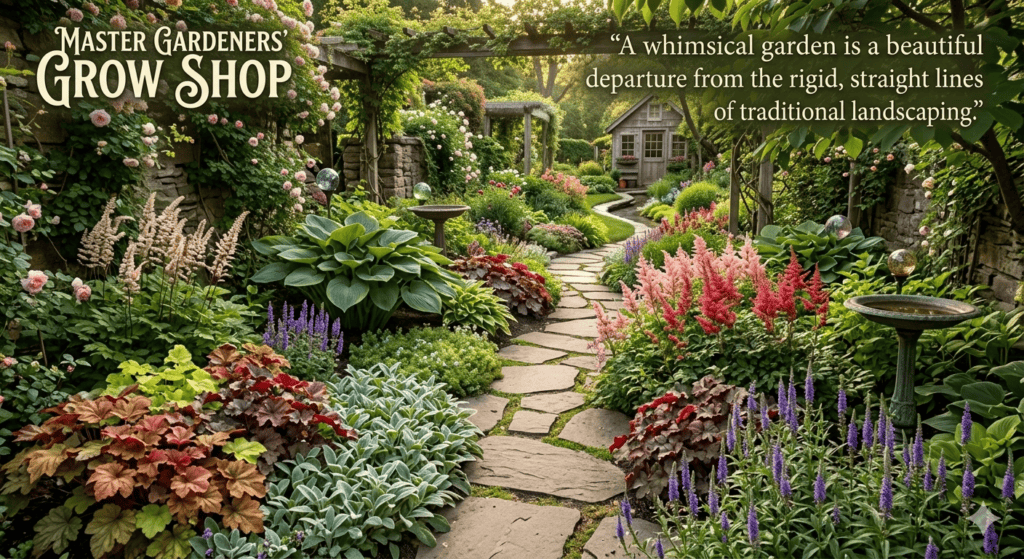

Choosing the right plants can really make or break your gardening experience.
Whether you’re wandering a nursery, flipping through your favorite catalog, browsing garden center aisles, or scrolling online listings, knowing how to judge plant health is essential.
A strong, healthy plant will settle in quickly, shrug off pests and diseases, and reward you with lush growth and blooms.
But how do you spot the difference between a thriving plant and one that’s just barely hanging on?

Most gardeners have brought home a plant that looked fine in the store, only to watch it decline almost immediately. This usually happens when you miss some key warning signs while picking it out.
If you learn to check roots, stems, leaves, and even the soil before you buy, you’ll save money and avoid a lot of frustration.
It really does set your garden up for success.
Why Plant Evaluation Matters
Choosing plants carefully at the start lays the foundation for your whole garden.
The quality of what you bring home affects how fast things grow, how well they resist problems, and how much time you’ll spend fixing issues later.
Benefits of Selecting Healthy Plants
Healthy plants get their roots established quickly. When you pick a plant with strong roots and vibrant leaves, it adapts to its new home in weeks, not months.
This means it starts growing and producing flowers or fruit sooner. Strong plants also fend off pests and diseases better than weak ones.
A vigorous plant has the energy to fight off common garden problems.
You’ll spend less time treating issues and more time actually enjoying your garden.
Healthy plants also need less water and fertilizer. Their efficient root systems soak up nutrients well, and their strong stems and leaves make the most of sunlight.
This saves you money and keeps maintenance down.
Common Risks of Poor Plant Choices
Diseased plants can spread trouble to your whole garden. One infected plant brings in pathogens that attack neighboring plants, starting a cycle of treatment and loss.
Common issues like root rot, powdery mildew, and bacterial infections move easily between plants that are close together.
Pest-infested plants introduce unwelcome guests to healthy ones.
Aphids, spider mites, and scale insects multiply fast once they get a foothold. One compromised plant from the nursery can spark an infestation that takes months to control.
Weak plants often fail completely, no matter how much you try to save them. You pour in time, water, and care, but some just never bounce back.
It wastes resources and leaves gaps in your garden.
How Evaluation Impacts Garden Success
Your plant selection skills shape your garden’s long-term health. Picking quality plants builds a strong garden ecosystem that mostly runs itself.
Gardens filled with healthy plants need about 50% less maintenance than those with weak or sickly ones.
You’ll water less, treat fewer diseases, and replace fewer dead plants.
Your time shifts from fixing problems to just enjoying what you’ve created. Quality evaluation also protects your investment.
Plants, especially perennials and trees, aren’t cheap.
Choosing well the first time means you buy each plant once instead of replacing failures year after year.
The Complete Plant Evaluation Checklist
A healthy plant shows its quality through three main areas: roots, stems, and leaves. Each part tells you something about how the plant will do once it’s home.
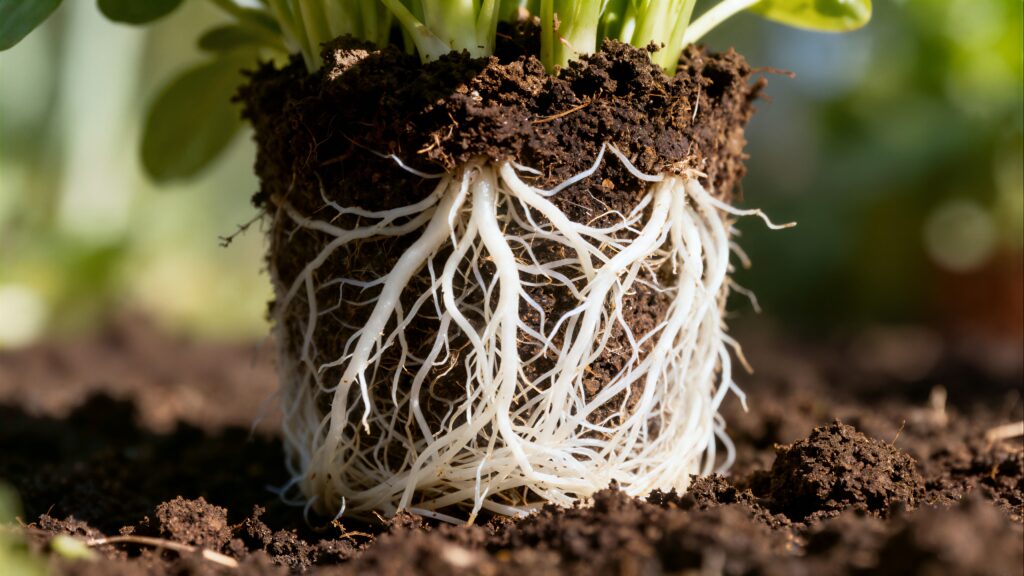
Assessing Root Health
Roots are the most important part of any plant, but you usually can’t see them. If you can, gently slide the plant out of its pot to take a look.
Healthy roots should be white or light tan and feel firm. If you see roots circling tightly around the pot, that’s a sign the plant is root-bound and might struggle to get established.
A few roots at the edge are normal, but thick tangles mean it’s been in that pot too long.
Avoid plants with dark brown or black roots that feel mushy or have a bad smell.
These are signs of root rot from overwatering or poor drainage. Healthy roots should smell earthy, not foul.
Check that roots aren’t growing out of the drainage holes in big clumps. One or two is fine, but lots of thick roots poking out means the plant is stressed and probably needs a bigger pot.
Examining Stems for Strength and Structure
Look for plants with sturdy, upright stems that don’t need staking. The stems should feel firm, not soft or hollow, when you gently squeeze them.
Multiple stems from the base usually mean a fuller, more mature plant. Make sure the stem color matches what’s normal for that variety—green stems should look bright, and woody stems shouldn’t have cracks or splits.
Avoid plants with stems that bend too easily or show damage.
Watch for any spots, discoloration, or lesions on the stems.
These can signal disease or pest issues that might spread in your garden.
The spot where the stem meets the soil should be firm, not mushy or rotting.
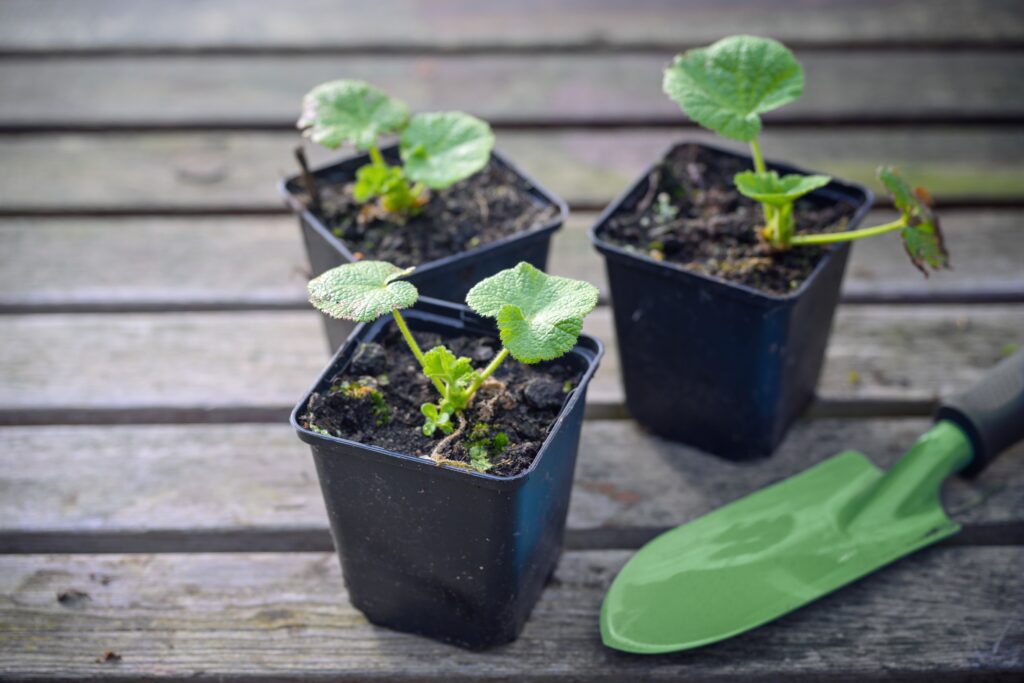
Inspecting Leaves for Clarity and Color
Leaves give you the most obvious clues about plant health. They should be the right color for the variety—deep green, variegated, or silvery—and feel crisp, not limp.
Check both the tops and undersides of leaves for pests like aphids or spider mites.
Look for sticky residue, tiny bugs, or little webs between leaves.
Turn over a few leaves to check for eggs or larvae hiding underneath. Avoid plants with yellowing leaves, brown edges, or spots unless that’s normal for the variety.
Holes in leaves can mean pest damage, while a white powdery coating suggests fungal disease.
New growth should look healthy, not stunted or discolored.
Soil and Container Assessment
The soil and container can tell you a lot about a plant’s health, even if everything above ground looks fine.
A quick check here can reveal hidden problems.
Identifying Proper Moisture Levels
The soil should feel evenly moist—not soggy, not bone dry. Press your finger about an inch into the soil to check.
Signs of proper moisture:
- Soil feels slightly damp, not muddy
- No water pooling on top
- The container feels moderately heavy when you lift it
Overly wet soil can indicate poor drainage or overwatering, leading to root rot and fungal diseases. You might see algae or moss growing on the surface if it’s too wet.
Extremely dry soil suggests neglect. The soil may even pull away from the pot edges. While you can rehydrate a dry plant, repeated drying stresses the roots.
Pick plants with consistent moisture management.
Checking for Root Bound Signs
Gently tip the pot and peek at the drainage holes. Thick, circling roots poking out the bottom mean a root-bound plant.
Warning signs of root-bound plants:
- Dense root spirals at drainage holes
- Roots circling tightly at the soil surface
- The plant dries out very quickly after watering
- Stunted growth even with good care
A slightly root-bound plant can bounce back with proper transplanting. Severely root-bound plants take much longer to establish and may never really thrive.
If possible, ask nursery staff if you can slide the plant out of its pot. Healthy roots should be light-colored with soil visible between them.
Spotting Signs of Plant Pests and Diseases
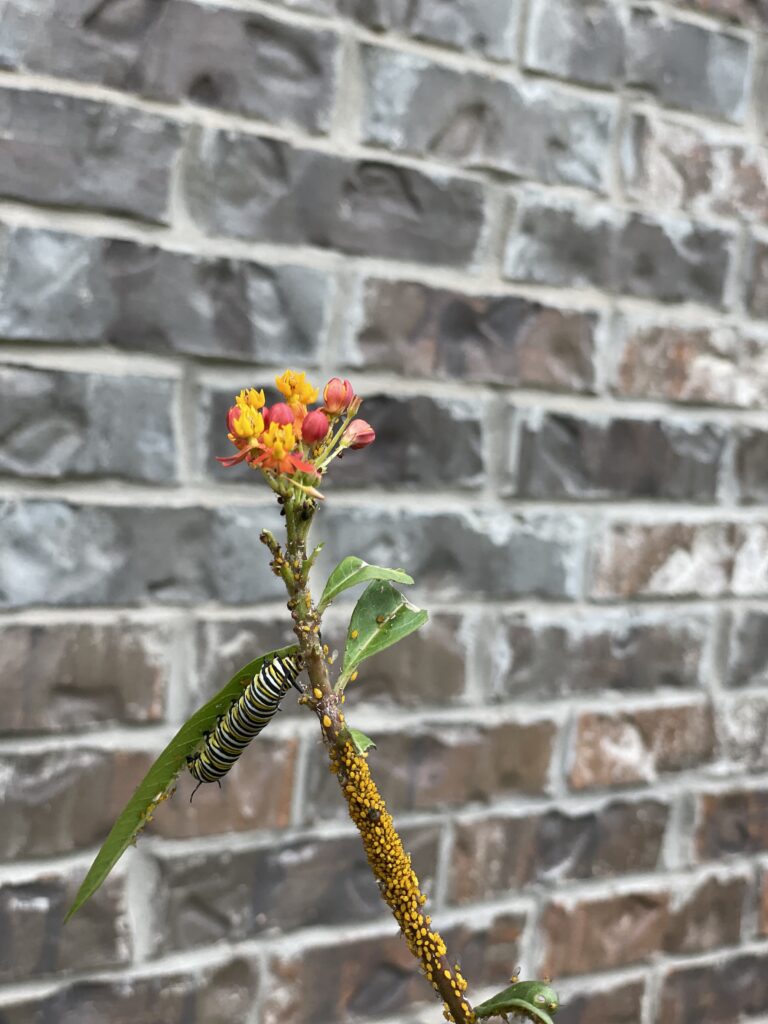
Pests and diseases can wreck a plant’s health and spread to everything else you’ve planted. Look closely at leaves, stems, and the soil for any odd marks, bugs, or webbing before you buy.
Detecting Insect Infestations
Check under the leaves first—lots of pests hide there during the day.
Common signs of insect problems include:
- Small holes or chewed leaf edges
- Sticky residue (honeydew from aphids)
- Tiny white or yellow spots from sucking insects
- Webbing between leaves or stems (spider mites)
- Small bumps or scales on stems
- Visible bugs like aphids, whiteflies, or mealybugs
Run your finger along the underside of the leaf. If you spot tiny bugs moving or feel something sticky, there’s likely an infestation.
Look at new growth and tips—pests often attack these first. Curled or distorted new leaves usually mean feeding damage.
Check the soil surface and rim of the pot. Some insects, like fungus gnats, live in the soil and you’ll see them fly up when you disturb the plant.
Recognizing Disease Symptoms
Plant diseases can sneak up on you as discolored spots, odd growth, or mushy tissue. Most of the time, these issues come from fungal, bacterial, or viral infections.
Watch for these disease warning signs:
- Brown, black, or yellow spots on leaves with sharp edges
- Powdery white coating on leaves or stems (powdery mildew)
- Fuzzy gray or white mold growth
- Wilting that sticks around even after watering
- Mushy or blackened stems near the soil line
- Rings or mosaic patterns on leaves (viral diseases)
Touch the leaves gently. Diseased spots often feel soft, mushy, or almost paper-thin compared to healthy leaves.
Check where the stem meets the soil. Dark, soggy areas at the base usually mean root rot or stem disease.
Smell the soil and roots if you can. A sour or rotten smell points to bacterial or fungal trouble in the roots. Healthy soil smells earthy and fresh—kind of like after rain.
Understanding Plant Labels and Sourcing

Plant labels give you crucial info about care requirements and what to expect as the plant grows. Where you buy your plants?
That matters just as much as the plant itself, honestly.
Decoding Plant Tags
Plant tags show the details you need to make a smart choice. Always look for the botanical name, not just the common name.
The botanical name tells you exactly what you’re getting—no surprises later.
Pay attention to the hardiness zone. That number tells you if the plant will survive your winters. If you live in zone 6 and the tag says zone 8, it probably won’t survive your cold season.
Light requirements usually say full sun, partial shade, or full shade. Full sun means at least six hours of direct sunlight. Partial shade is three to six hours.
Full shade is less than three, and honestly, some plants are picky about this.
Mature size on the tag helps you avoid headaches later. A shrub that says 8 feet tall will eat up a tiny space fast.
Water needs range from low to high—pick something that matches your climate and how often you want to water.
Evaluating Plant Source Reputation
Buy from nurseries or garden centers with staff who know their stuff and plants that look healthy. These places usually take care of their plants.
Staff can actually answer your questions about varieties and growing conditions.
Big box stores have lower prices, but plant care can be hit or miss. Sometimes plants sit around too long without much love, so check them closely for any signs of stress.
Local growers and specialty nurseries stock plants that already handle your region’s quirks. These plants settle in more easily, and you support local businesses while getting advice that actually applies to your area.
Skip sellers who can’t answer basic questions about care. Take a look around—if the display area looks messy or crowded, plants there are probably stressed out.
Special Considerations for Buying Online
Shopping for plants online is a different beast. You can’t touch or see the plant in person, so you have to read carefully and know what to check when your package arrives.
Interpreting Online Plant Descriptions
Read the product descriptions slowly so you know what you’re actually getting. Look for details about plant size, including both pot diameter and plant height.
If the listing just says “4-inch pot,” that’s the container—not the plant size.
See if the seller mentions the plant’s growth stage. Words like “established,” “rooted cutting,” or “starter plant” mean different things.
Established plants usually cost more but settle in faster.
Check for shipping restrictions and timing. Some sellers won’t ship during heat waves or freezes, which is a good sign—they actually care about the plant’s survival.
Key details to look for:
- Actual plant size (height and width)
- Pot size and material
- Growth stage or maturity
- Shipping season and methods
- Return or replacement policies
Read customer reviews that talk about the plant’s condition on arrival. Photos from other buyers give you a real sense of what to expect.
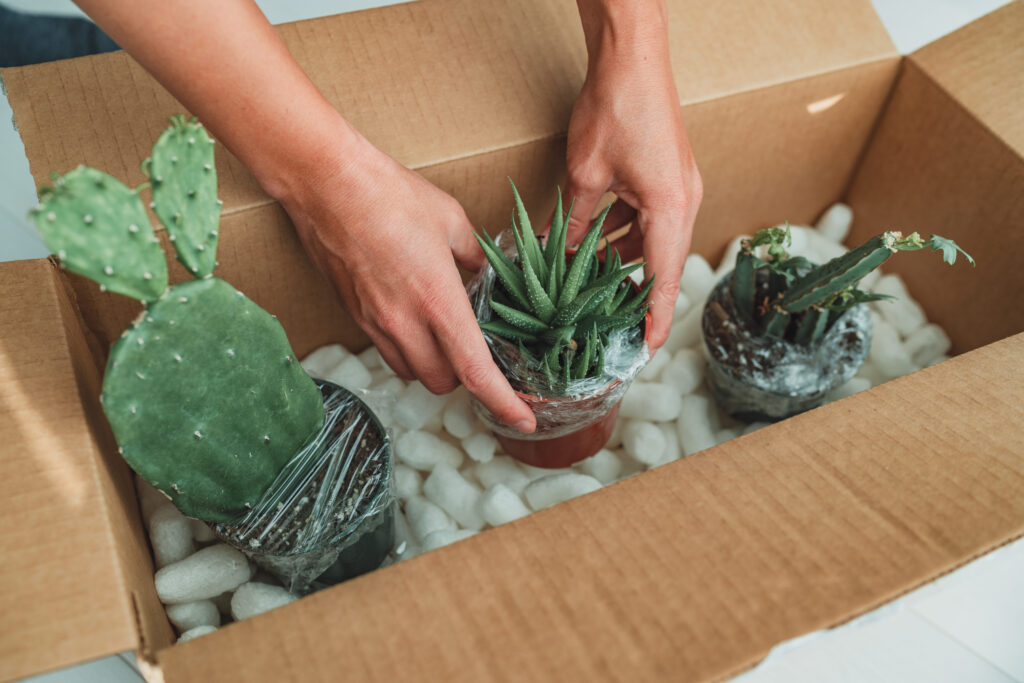
Safely Unboxing and Evaluating Shipped Plants
Unbox your plants right away so they aren’t stuck in the dark or short on air. If the leaves look a bit wilted or droopy, don’t freak out—shipping does that.
Take off all the packaging gently. Check the soil moisture by touching the top inch. Most good sellers ship with slightly damp soil to keep roots safe.
Inspect stems and leaves for any breakage or brown spots that might have happened before shipping. Some leaf damage is normal, but stems should be firm and whole.
Look at the base for soft or mushy spots.
If you can, check the roots by gently tipping out the root ball. Healthy roots look white or light tan—not black or slimy.
A little root exposure during shipping is pretty normal.
Immediate steps after unboxing:
- Place plants in indirect light for 2-3 days
- Water only if the soil feels dry
- Don’t fertilize for at least two weeks
- Take photos of any major damage for the seller
If your plant arrives with serious damage or disease, contact the seller within their time window. Most reputable places will send a replacement or refund you if the plant’s a total loss.
Making Smart Choices at the Nursery
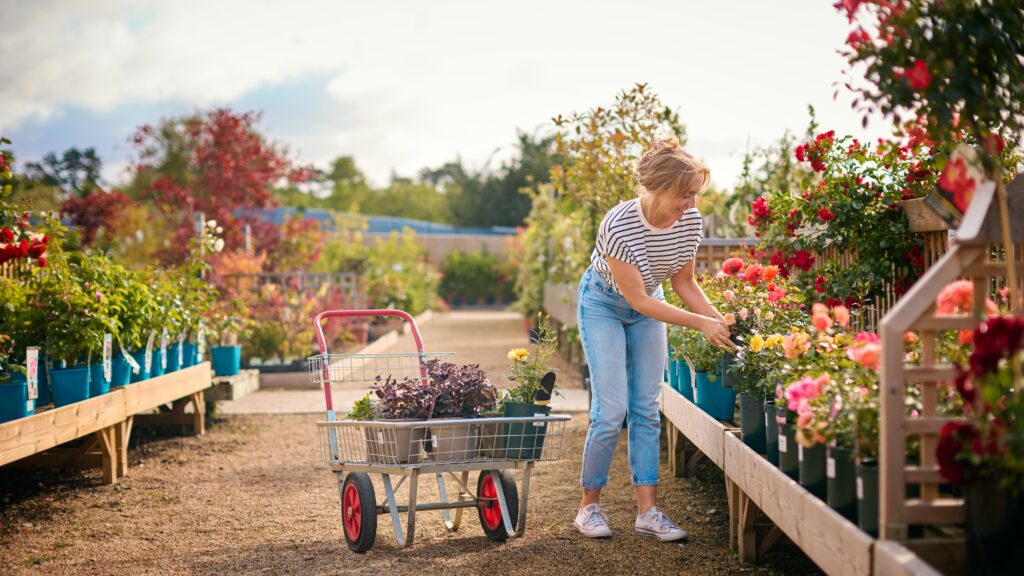
When you walk into a nursery, you’ll see several versions of the same plant variety. The trick is knowing how to compare them and when to shop for the healthiest plants.
Comparing Multiple Specimens
Don’t just grab the first plant you spot. Line up three to five of the same kind and compare them.
Look for even growth all around the plant. The best one will have balanced branches and leaves spread out evenly.
Skip anything leaning to one side or with bald spots.
Check the leaf color. The richest, deepest green (or whatever color is right for that plant) usually means it’s well-fed and healthy. Pale or yellow leaves are a red flag for stress.
Look at how big the plant is compared to its pot. If it’s way too big, roots are probably circling and the soil’s worn out. Ideally, the plant fills its pot but isn’t bursting out.
Check the stem at the base. A sturdy, thick stem means the plant grew in good conditions. Thin, stretched stems usually mean it was reaching for light and probably didn’t get enough.
Turn the pot over and peek at the drainage holes. Roots just starting to poke out are fine, but thick roots growing out everywhere mean it’s root-bound.
Timing Your Purchase for Healthier Plants
Go to nurseries early in the growing season when new stock just arrived. Plants that sit around for months get stressed from crowding and erratic watering.
Shop early in the week, right after fresh shipments come in. These plants haven’t been picked over or left sitting.
Ask staff when they usually restock—most are happy to tell you.
Best times to buy:
- Spring: March through May for perennials and shrubs
- Fall: September through October for trees and spring bulbs
- Mid-week: Tuesday through Thursday for the freshest choices
Avoid shopping during heat waves or freezes. Even healthy plants can get stressed if they’re left outside in extreme weather.
See if the nursery moves sensitive plants into protected spots during bad weather—some places do, some don’t.
After Purchase: Setting Up Your Healthy Garden
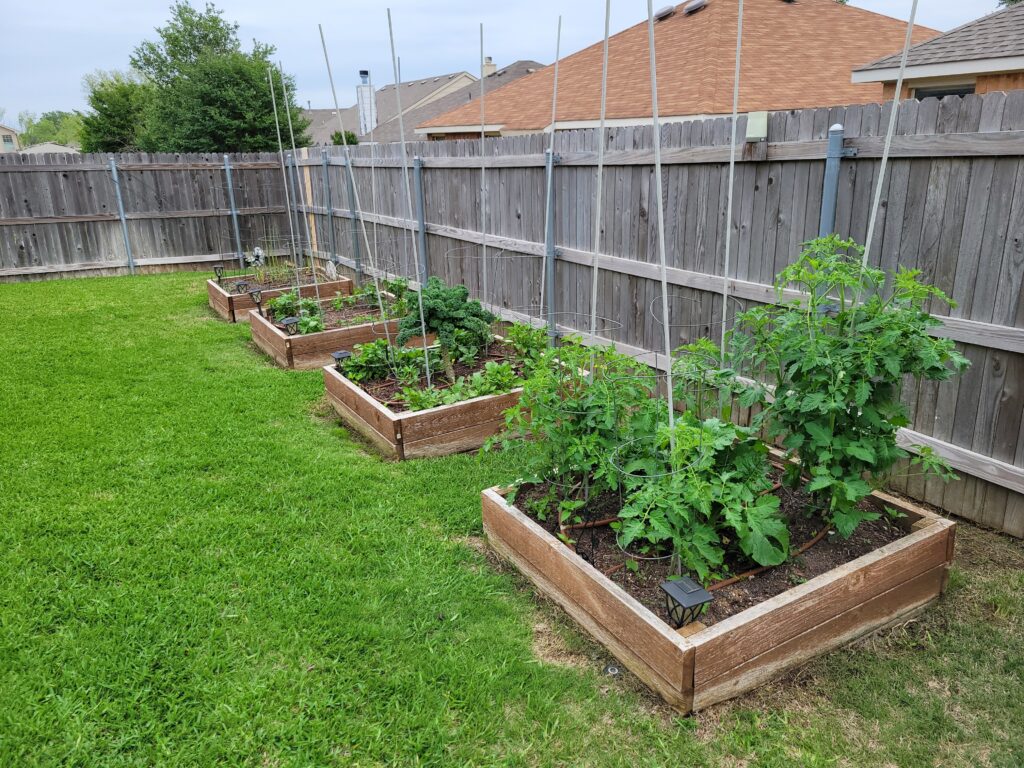
Bringing new plants home is just the start. How you care for them right away can make or break their future in your garden.
Proper Plant Acclimation
Your new plants need a little time to settle in. This process, called hardening off, helps them avoid shock from sudden changes.
Start by putting your plants in a sheltered spot with partial shade for a couple of days. Even if they came from an outdoor nursery, the light at home might be different.
Acclimation Schedule:
- Days 1-2: Keep in shade, water lightly
- Days 3-4: Move to morning sun (2-3 hours)
- Days 5-6: Add 2 more hours of sun each day
- Day 7: Plant in the final spot
Indoor plants need a similar adjustment. Keep them out of direct sun and away from heating vents for the first week.
Check soil moisture daily—plants can get thirsty after shipping.
Immediate Care Tips for New Plants
Water your plants thoroughly within two hours of getting home. Lift the pot to check if the root ball is dry—it’ll feel much lighter if it needs water.
Leave plants in their nursery pots for at least 24 hours before transplanting. This gives the roots a little time to recover from travel.
First Week Care Checklist:
- Water when the top inch of soil is dry
- No fertilizer for two weeks
- Remove any damaged leaves or flowers
- Keep away from temperature swings
Check your plants every day for signs of stress like wilting or leaf drop. Some leaf loss is normal when they’re settling in, but big changes need a closer look.
Try to keep the soil consistently moist but not soggy—overwatering causes more trouble than a bit of dryness.
Ready to grow with confidence?
When you check roots, stems, leaves, and soil before buying, you protect your investment.
Careful inspection sets your garden up for real success.
Healthy plants bounce back from transplant shock much faster. They handle pests and diseases better, too.
Some key things to remember:
- Pull plants from containers so you can check the roots
- Look for white, firm roots—not circling or mushy ones
- Inspect leaves for even color and no weird spots
- Check stems—are they sturdy and shaped right?
- Skip plants with yellow leaves or wilting
Take your time at the nursery. Don’t let a pretty plant fool you; sometimes the best-looking one hides trouble underneath.
If you’re not sure, just ask. Most garden centers hire folks who genuinely want to help you succeed, and they can explain what each plant needs.
At Master Gardeners Grow Shop, we love this easy-to-grow Mother-in-Law Tongue Sansevieria Plant. Find fresh indoor and garden plants.
We do our best to give honest advice for whatever you’re growing.