Many gardeners worry they’ve missed their window to grow a successful garden this year.
Honestly, it’s rarely too late to start a healthy, thriving garden—you need to tweak your approach for the season and your local weather.
Whether you’re planting in spring, summer, or even early fall, you can still enjoy fresh veggies, beautiful blooms, and the satisfaction of growing your own food. You might need to be a little strategic about what you plant and how you get started.

If you’re getting a late start, focus on smart plant choices and a clear plan. Pick crops that mature quickly, know your area’s frost dates, and get your soil ready for action.
With a bit of know-how and effort, you can still pull off a productive garden and maybe even surprise yourself with late-season harvests.
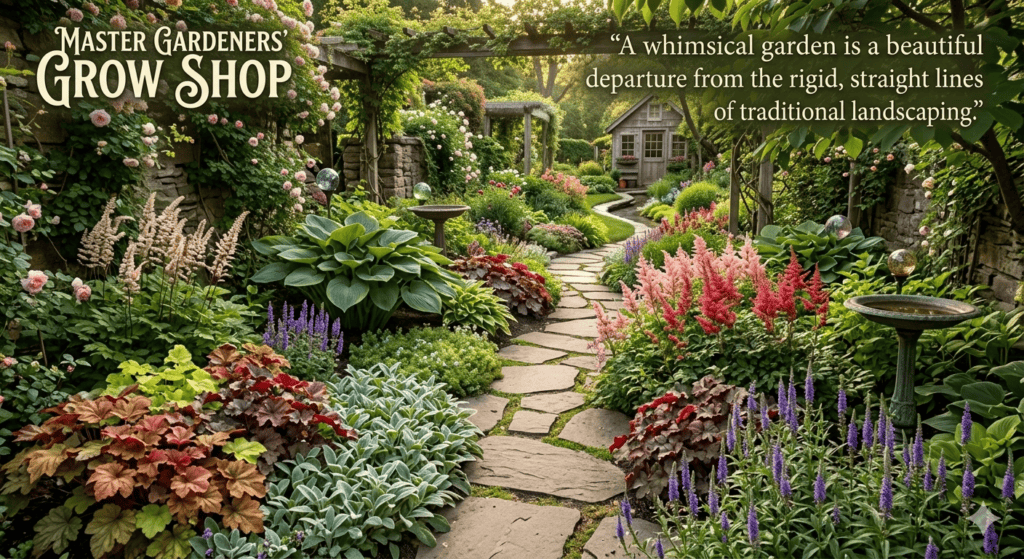
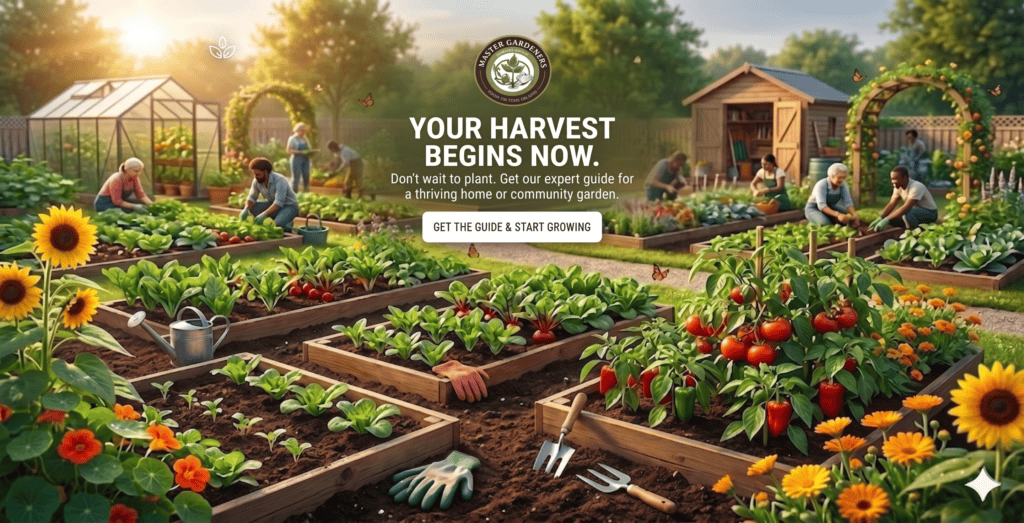
At Master Gardeners Grow Shop, we believe great gardens start with great plants. We’re here to help you choose the best options for your situation.
This guide covers seasonal timing, picking the right varieties for a late start, prepping your space, and keeping your garden thriving all season.
Understanding Seasonal Timing for a Healthy Garden

Timing your planting isn’t just about flipping to a certain date on the calendar. Your specific location, yard conditions, and the weather right now all shape the best time to get growing.
Best Times to Begin Gardening in Your Region
Your region’s frost dates set the boundaries for your growing season. The last spring frost and the first fall frost mark your planting window.
Most places in the U.S. fall into USDA hardiness zones, which run from 1 to 13. Each zone is based on the average lowest winter temperature. If you’re in Zone 3 up north, you’ll probably plant warm-season crops in late May or early June. Down in Zone 8, you might get started as early as March.
Key Regional Timing Factors:
- Last spring frost date
- First fall frost date
- Length of growing season
- Summer heat intensity
Cool-season crops like lettuce, peas, and broccoli like it between 60-70°F. You can plant these 4-6 weeks before your last frost date.
Warm-season crops—think tomatoes, peppers, squash—need soil temps above 60°F and zero frost risk.
Your local extension office can give you exact frost dates for your area. They usually offer free, science-backed info that’s tailored to your county.
Microclimates and Your Backyard
Your yard’s not just one big climate—it’s a patchwork of microclimates. Some spots can be 10-15°F warmer or cooler than the rest.
A south-facing wall might warm up weeks before a shaded north corner. Buildings, fences, and trees all shape these micro-zones. Brick or stone walls absorb heat during the day and release it at night, giving plants a little extra warmth and protection against light frosts.
Low spots collect cold air, so frost hits there first. Raised beds or gentle slopes help cold air drain away, keeping things a bit warmer on chilly nights. Wind patterns matter too—sheltered spots can lower plant stress and help the soil hang onto moisture.
If you’re not sure where your warmest or coolest spots are, try putting outdoor thermometers in a few locations. After a week, you’ll have a good sense of where to plant heat-lovers or cool-season crops.
Adapting to Unusual Weather Patterns
Weather’s gotten unpredictable, hasn’t it? Late frosts, early heat waves, surprise cold snaps—it’s all in the mix now.
Keep row covers, cold frames, or cloches handy to shield plants from sudden chills. These simple tools can save your crops if frost threatens after your usual last frost date. Even a basic row cover can bump the temperature up by 4-8°F.
Weather Adaptation Strategies:
- Start seeds indoors so you control the timing
- Use season extenders like row covers
- Plant in succession every 2-3 weeks
- Pick varieties with different maturity dates
- Keep an eye on 10-day forecasts
Soil temperature matters more than air temperature for seed germination. Grab a soil thermometer and check before planting. Most seeds want the soil to be at least 50-60°F. If it’s still cold, hold off—seeds can rot in chilly soil.
Don’t forget about rainfall. Too much spring rain can delay planting, while a dry early summer can stress new seedlings. Adjust your watering schedule based on what’s actually happening, not just what you expect for the season.
Selecting the Right Plants for a Late Start

If you’re starting your garden in April or even later, focus on plants that grow fast and can handle the heat. It’s all about matching your choices to the time and climate you have left in the season.
Fast-Growing Vegetable Varieties
For a late-start veggie patch, go for crops that mature in 50-70 days. Radishes are the speedsters—just 25-30 days from seed to harvest. They’re great if you want a quick win.
Bush beans also grow fast, producing in 50-60 days and loving warm soil. Lettuce is another speedy grower, often ready in 40-50 days. Summer squash and zucchini take off once they get going, with fruit ready in 45-55 days.
Here are a few more quick picks:
- Spinach: 40-45 days
- Arugula: 30-40 days
- Swiss chard: 50-60 days
- Cucumbers: 50-70 days
- Bush peas: 55-65 days
If you can, start with transplants instead of seeds. That shortcut can save you 2-4 weeks and get your garden producing sooner.
Heat-Tolerant and Resilient Flowers
Mid-spring flowers need to handle rising temps without flopping over or burning out. Zinnias are my go-to—they bloom all summer, shrug off the heat, and don’t mind dry spells.
Marigolds are another tough pick. They fill out fast and flower until frost. Sunflowers? They love hot weather, and some types bloom in just 55-75 days.
Top Heat-Resistant Choices:
| Flower | Days to Bloom | Heat Tolerance |
|---|---|---|
| Zinnias | 60-70 | Excellent |
| Marigolds | 45-50 | Excellent |
| Cosmos | 70-80 | Very Good |
| Celosia | 90-100 | Excellent |
| Portulaca | 60-85 | Excellent |
Once these flowers are established, they’re pretty low-maintenance. They’ll keep the garden lively and colorful even when the weather gets wild.
Perennials Versus Annuals
If you’re getting a late start, annuals usually make more sense. They grow fast, bloom the same year, and finish their life cycle before winter. That means you get color and payoff right away.
Perennials, on the other hand, spend their first season focusing on roots. Most won’t bloom until next year. They need time to settle in before winter, so it’s best to plant them earlier in the season if you want them to thrive.
Go with annuals for immediate impact. Choose perennials if you’re planning and can be patient for long-term results.
There are exceptions—perennial herbs like basil can still give you a harvest the first year. And if you’re using containers, you can move perennials to shelter them over winter.
Native Plants for Sustainable Success
Native plants are a smart bet for late planting. They’re already adapted to your region’s soil, rainfall, and temperature swings.
Once established, natives need less water and naturally resist local pests. They don’t demand special soil or constant attention to survive.
Your state’s native plant society or local extension office can point you to the best choices. Some natives transplant well in spring, while others do better at different times—so it’s worth checking.
Popular native picks include black-eyed susans, coneflowers, and native grasses. Many container-grown natives settle in fast if you plant before peak summer heat arrives.
Your local conditions matter more than the calendar. Native plants give you a real shot at a thriving garden with less hassle.
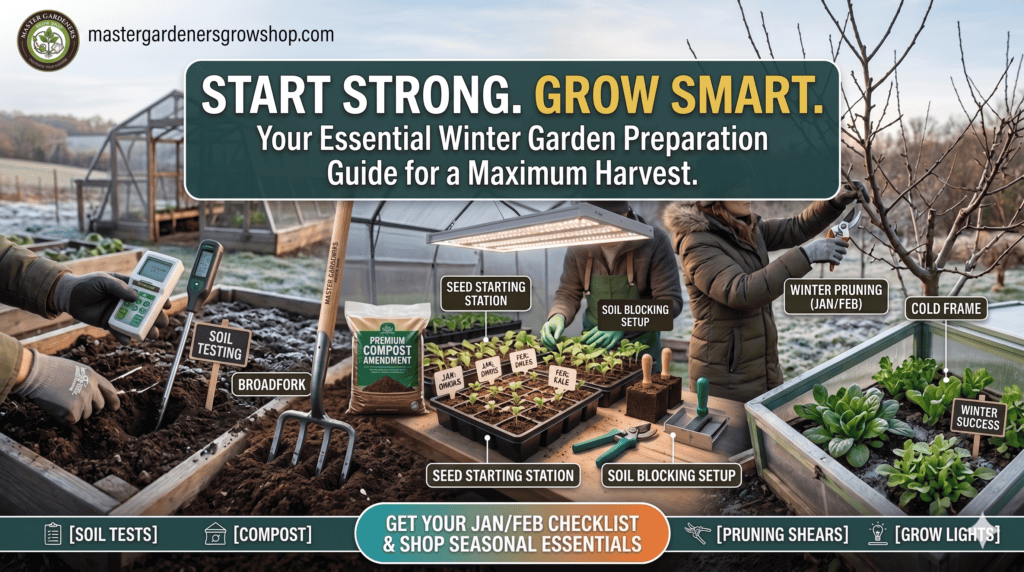
Essential Steps to Prepare Your Garden Now

Getting your garden ready doesn’t need months of work. You can get healthy soil, flexible planting options, and solid moisture management in just a few focused steps.
Assessing and Amending Your Soil
Your soil quality shapes everything that grows. Start by grabbing a handful and squeezing it.
If it forms a tight ball, it’s clay soil. If it crumbles right away, it’s sandy.
Test your soil pH with a simple kit from the garden center—most veggies like a pH between 6.0 and 7.0.
Add lime to raise pH or sulfur to lower it. It’s pretty straightforward once you get the hang of it.
Spread 2-3 inches of compost on your beds, no matter your soil type. Work it into the top 6-8 inches of soil.
Compost helps clay soil drain and lets sandy soil hold onto moisture. I always say, you can’t go wrong with compost.
Mix in aged manure or worm castings for a nutrient boost. Add these at least two weeks before planting, so they blend in nicely.
Container Gardening for Flexibility
Containers let you jump right in, even if your soil isn’t perfect yet. Pick pots at least 12 inches deep for most veggies and herbs.
Tomatoes and peppers want more room—aim for 18-24 inches deep. Trust me, they’ll thank you for it.
Use a high-quality potting mix, not garden soil. Potting mix drains better and won’t get rock-hard in containers.
Look for bags with perlite or vermiculite. Those help with aeration, which roots love.
Best container options:
- Fabric grow bags (great drainage, roots won’t get tangled)
- Plastic pots with drainage holes (cheap, easy to move)
- Ceramic containers (look nice, but they’re heavy)
- Food-grade buckets (honestly, you can’t beat free!)
Set containers where they get 6-8 hours of sun. Move them around to follow the light or shield plants during rough weather.
Watering and Mulching Strategies
Water deeply but not too often. This encourages roots to grow strong and deep.
Most gardens need 1-2 inches of water per week. Stick your finger in the soil—if it’s dry two inches down, it’s time to water.
Water early in the morning. This keeps evaporation down and helps prevent fungal problems.
Direct water at the soil, not the leaves. Soaker hoses or drip irrigation are super helpful for this.
Once your plants are established, lay down 2-4 inches of organic mulch. Shredded leaves, straw, or wood chips all work well.
Keep mulch a couple of inches away from plant stems to avoid rot. Mulch keeps the soil moist, blocks weeds, and adds organic matter as it breaks down.
Smart Planning and Maintenance for Thriving Growth

A well-organized garden with regular care saves you time and keeps plants healthier. Strategic layouts and timed fertilizing help your garden stay productive from spring through fall.
Efficient Garden Layouts
Group plants with similar water and sunlight needs together. It makes watering and care much simpler.
Put tall crops like tomatoes and beans on the north side. That way, they won’t shade out shorter plants like lettuce and herbs.
Leave 18-24 inches between rows so you can walk and work comfortably. It’s easy to forget this until you’re trying to squeeze through later!
Space-saving techniques:
- Grow cucumbers, peas, and pole beans up vertical trellises
- Plant quick radishes between slower crops like peppers
- Put shallow-rooted herbs near deep-rooted veggies
Mark your garden zones clearly. Keep heavy feeders—like tomatoes and squash—separate from light feeders such as beans and peas.
Plan your paths before planting anything. A simple grid with 2-foot-wide paths lets you reach everything without stepping on the soil.
Pest and Disease Prevention
Check your plants every few days for early signs of trouble. Look under leaves for eggs, spots, or weird colors.
Take off damaged leaves right away. Pull yellow or brown leaves from the base of the plant to boost airflow.
Prevention methods:
- Water at the soil level in the morning
- Rotate crop families every year
- Use 2-3 inches of mulch to block soil-borne disease
- Clear out garden debris weekly
Plant marigolds, dill, and yarrow near your veggies to attract ladybugs and lacewings. These helpful bugs eat aphids and mites.
Avoid overhead watering after 10 AM. Wet leaves in the heat make fungal issues more likely.
Seasonal Fertilizing Tips
Feed plants based on their growth stage, not just a calendar. Different crops need different nutrients at different times.
April through June: Use a balanced fertilizer (10-10-10) every few weeks for greens and herbs. Start tomatoes and peppers with more nitrogen, then switch to more phosphorus when flowers appear.
July through September: Cut back on nitrogen for fruiting plants. A 5-10-10 formula supports fruit, not just leaves. Feed every couple of weeks during peak growth.
Side-dress established plants by sprinkling granular fertilizer 4-6 inches from the stems. Water right after, so nutrients soak in.
Compost tea is gentle for sensitive plants. Apply every week or two as a drench or a foliar spray.
Get my free compost tea recipe.
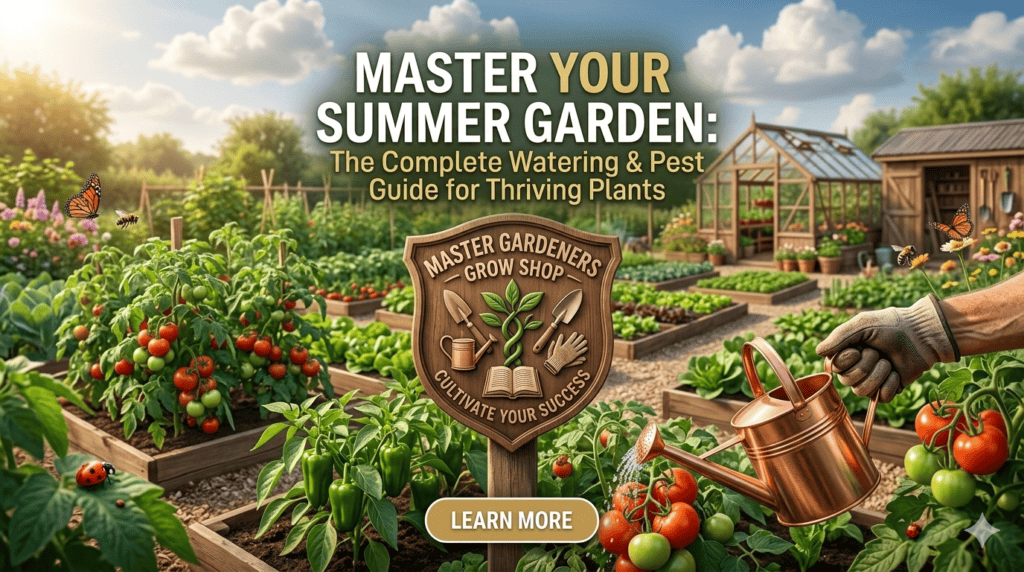
Maximizing Harvests and Garden Enjoyment

Growing your own food isn’t just about planting and watering. Smart timing and proper harvesting keep your garden productive and your veggies tasty from spring to fall.
Succession Planting Techniques
Succession planting stretches out your harvest by weeks or even months. Plant fast crops like lettuce, radishes, and spinach every 10-14 days instead of all at once.
When your early crops finish, don’t let the beds sit empty. Swap out cool-season crops for warm-season ones as the weather heats up.
Pull out spent peas in June and pop beans or cucumbers into that spot. It keeps things moving and maximizes your space.
Fast crops for succession planting:
- Lettuce (45-55 days)
- Radishes (25-30 days)
- Bush beans (50-60 days)
- Carrots (60-75 days)
Stagger tomato plantings by a couple of weeks if you have room. That way, you won’t get buried in tomatoes all at once.
Mark planting dates on your calendar based on each crop’s maturity time. Count backward from your first frost date to determine the last safe planting date for fall crops.
Harvesting for Freshness and Nutrition
Pick vegetables in the morning after the dew dries but before the heat ramps up. That’s when they taste best and have the most nutrients.
Most vegetables lose nutrients pretty quickly after picking. Leafy greens, for example, can lose half their vitamin C in just a day at room temperature.
Pop harvested produce in the fridge right away to slow down nutrient loss.
Harvest timing by crop:
- Tomatoes: Pick when they’re at the breaker stage or fully colored but still firm
- Zucchini: Go for 6-8 inches long
- Lettuce: Take the outer leaves first, and let the center keep growing
- Peppers: Harvest green or wait for them to change color
Harvest regularly to encourage more production. Check beans and cucumbers every couple of days.
Leaving overripe veggies on the plant tells it to stop making new ones. Use clean, sharp tools to avoid damaging plants.
Handle tomatoes and soft fruits gently to prevent bruising. Nobody likes a squished tomato.
Resources for Further Learning
Your local Cooperative Extension Service offers free, area-specific gardening advice. Find your county office through your state university’s extension site.
Reliable educational sources:
- USDA Plant Hardiness Zone Map at planthardiness.ars.usda.gov—figure out your growing zone
- National Gardening Association—variety picks and planting calendars
- State Extension Publications—local pest management and soil tips
Join a garden club or community garden to pick up tricks from seasoned locals. Master Gardener programs through extension offices are a goldmine for training and ongoing support.
Keep a garden journal with planting dates, varieties, and harvest notes. Honestly, your own notes become your best guide for next season.
Steps You Can Take Now

You really can start a garden at almost any time of year. It just comes down to picking plants that fit your season and giving them the right kind of attention.
Test your soil. Toss in some compost or organic matter—trust me, your plants will thank you for it later.
Choose varieties that match your planting window. Maybe that’s cool-season crops in fall, or some speedy veggies for a quick summer harvest.
Your immediate action plan:
- Prep your beds with good soil amendments.
- Pick plants based on how long they take to mature and your first frost date.
- Set up drip irrigation, or at least figure out how you’ll keep things watered.
- Jot down reminders for feeding and basic upkeep.
Check in with your local extension office or browse their site for frost dates and planting guides. They’re experts, and the information’s free.
At Master Gardeners Grow Shop, we’ve got seeds, transplants, and all the gear you need to kick things off—even if it’s late in the season. If you need help picking out what works for your space or timeline, our complete guide will get you started.
If you’re just getting started, try one or two beds. It’s honestly the best way to build your skills and confidence for next time. Nobody’s garden starts out perfect, but you’ll still get something tasty and satisfying out of the effort.