
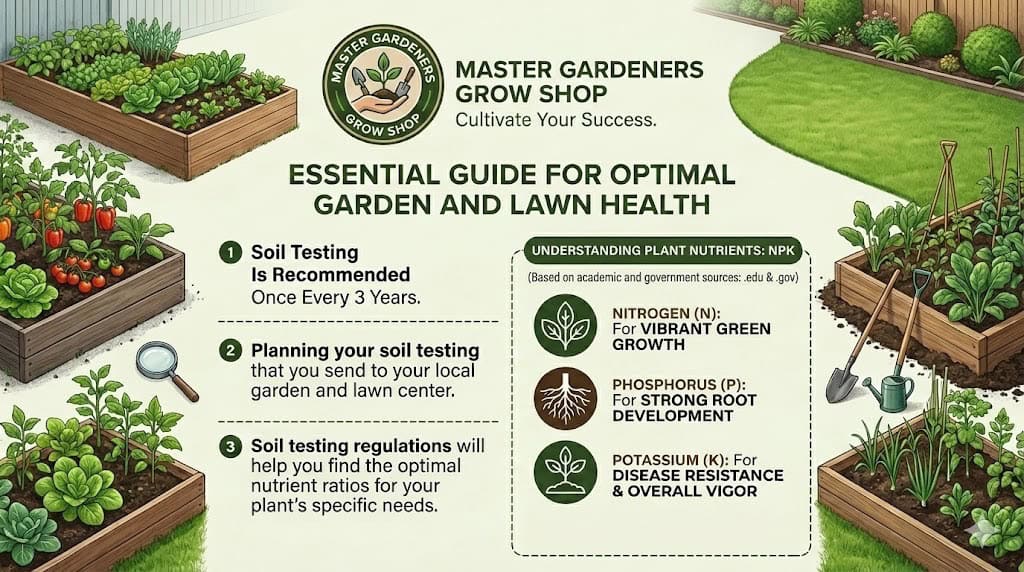
Testing your soil every three years really helps you figure out what your plants are missing.
Most experts recommend testing at least once every 3 years to monitor nutrient levels and pH changes.
This regular routine keeps your garden or farm productive. You also avoid wasting money on fertilizers you don’t need.
Your soil changes over time depending on what you plant, rainfall, and the amendments you add. Testing every few years lets you spot issues before they mess with your harvest.
Some situations call for more frequent testing, especially if you’re fixing big soil problems or dealing with tricky soil types.
This guide breaks down why the three-year schedule works for most people. You’ll get details on what gets tested, how to take good samples, and how to use your results to improve your soil.
Understanding the process helps you make better choices about your land. It’s not rocket science, but a little knowledge goes a long way.
Why Soil Testing Is Recommended Once Every 3 Years
Testing every three years helps you track nutrient changes. You keep your growing conditions healthy and avoid wasting time or money on unnecessary tests.
Importance of Regular Soil Analysis
Soil testing every three years gives you a pretty clear picture of what’s happening in your garden or field. Most nutrients change slowly, so testing more often usually doesn’t give you much new info for the effort.
With a three-year cycle, you can spot real trends in your soil’s pH and nutrients. Comparing results over time shows if your amendments are working.
- Soil nutrients shift gradually in stable conditions.
- There’s enough time between tests to notice meaningful changes.
- Your soil management choices have time to make a difference.
If you use manure often or see plant problems, test more frequently. Sandy soils might need checking every two years since nutrients wash out faster.
Benefits to Plant Health and Crop Yields
Regular soil testing helps your plants grow better by showing you exactly what nutrients they’re missing. Knowing your soil’s pH and nutrients means you can add the right fertilizers in the right amounts.
Testing every three years keeps you from over-fertilizing, which wastes money and can even hurt your plants. Too much of certain nutrients can block your plants from using others.
You also avoid under-fertilizing, which leads to weak growth and disappointing harvests. Your soil test results tell you if your pH needs a nudge in either direction.
Most plants like a certain pH range. Adding lime or sulfur based on test results creates better conditions for nutrient uptake.
Impact on Soil Fertility Over Time
Three-year intervals let you see how your soil fertility shifts as you garden or farm. You’ll notice if nutrient levels are climbing, dropping, or holding steady.
This kind of long-term view helps you adjust your management. If phosphorus keeps rising, you can cut back on fertilizers with phosphorus.
If nitrogen stays low, maybe you need more organic matter or a different amendment. Your soil test records show which spots need the most attention.
Some areas might be just fine, while others need regular inputs. Testing every three years gives you enough info to make these calls without drowning in data.
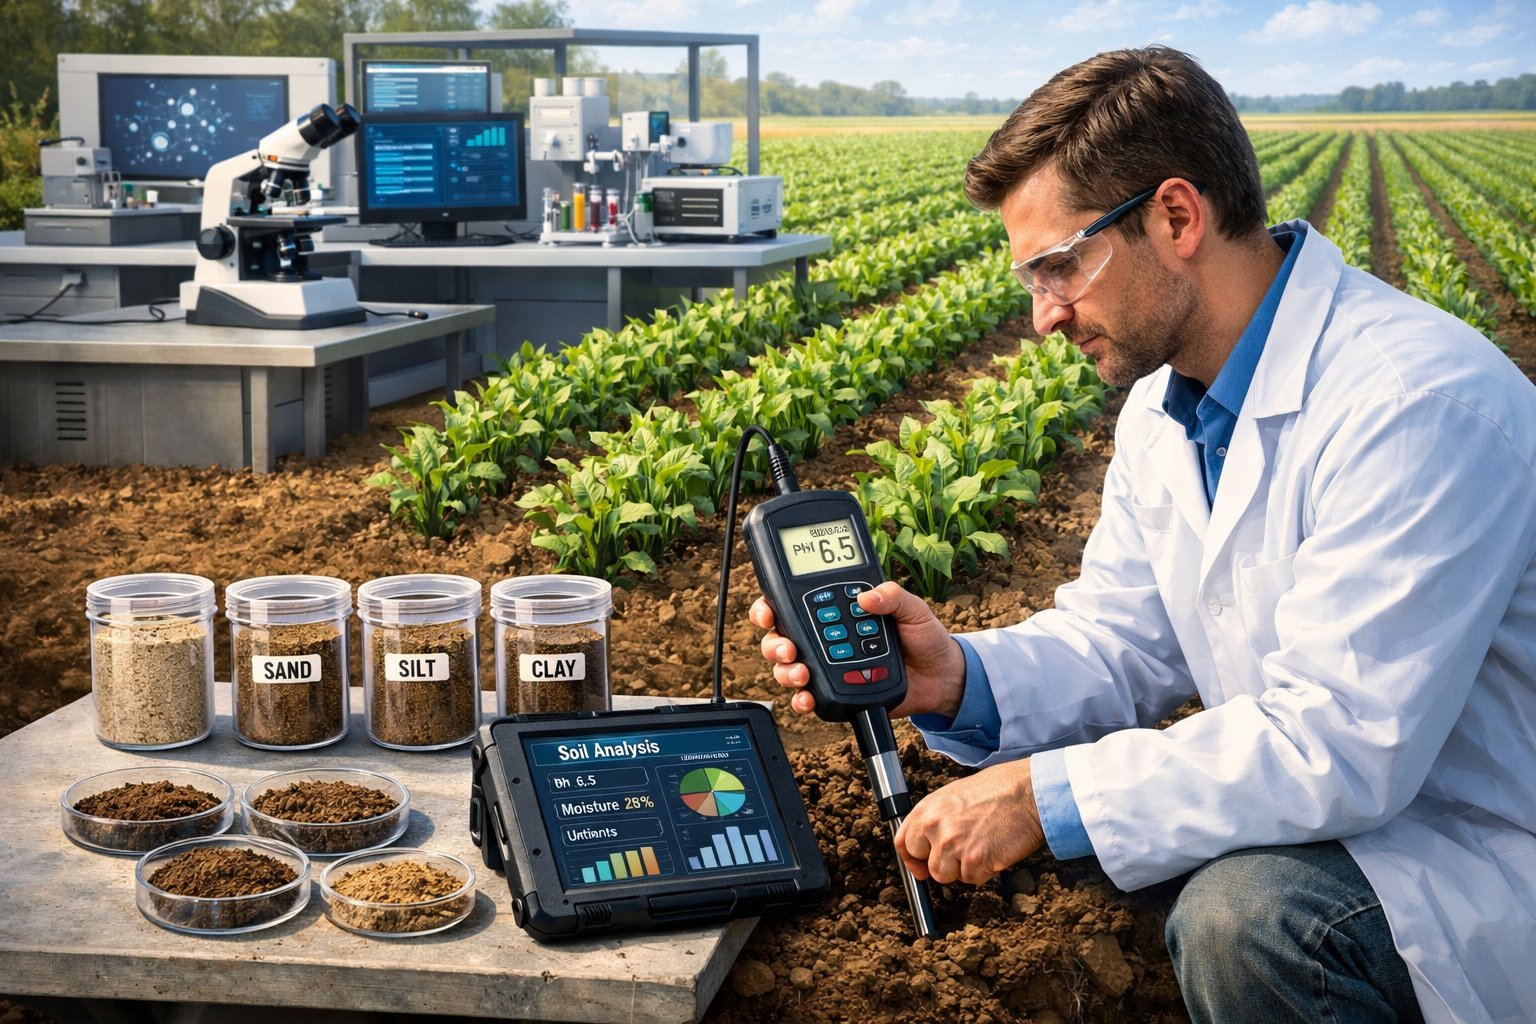
Key Components Assessed During Soil Testing
Soil tests measure nutrients, pH, and physical features that affect plant growth. These numbers help you make smart choices about fertilizer and amendments.
Nutrient Levels and Deficiencies
Soil tests show how much of the main nutrients your plants can actually use. The big ones are nitrogen, phosphorus, and potassium.
Secondary nutrients like calcium, magnesium, and sulfur also get checked. Micronutrients—like iron, zinc, manganese, and boron—show up in smaller amounts but still matter for healthy plants.
If your soil lacks any of these, your plants might get yellow leaves or just stop growing well. Test results usually show nutrient levels as parts per million or pounds per acre.
Labs compare your numbers to what’s normal for different crops. You’ll get specific recommendations for fertilizer types and how much to use.
Soil pH and Its Effects
Soil pH measures how acidic or alkaline your soil is, on a scale from 0 to 14. Seven is neutral. Most crops prefer soil with a pH between 6.0 and 7.5.
When pH goes outside this range, plants can’t absorb nutrients—even if they’re in the soil. Acidic soil below 6.0 can make aluminum and manganese toxic, while limiting calcium and magnesium.
Alkaline soil above 7.5 makes it hard for plants to get iron, zinc, and phosphorus. You can adjust pH by adding lime to raise it or sulfur to lower it.
Big pH corrections can take months and usually need a retest after a year to see if things improved.
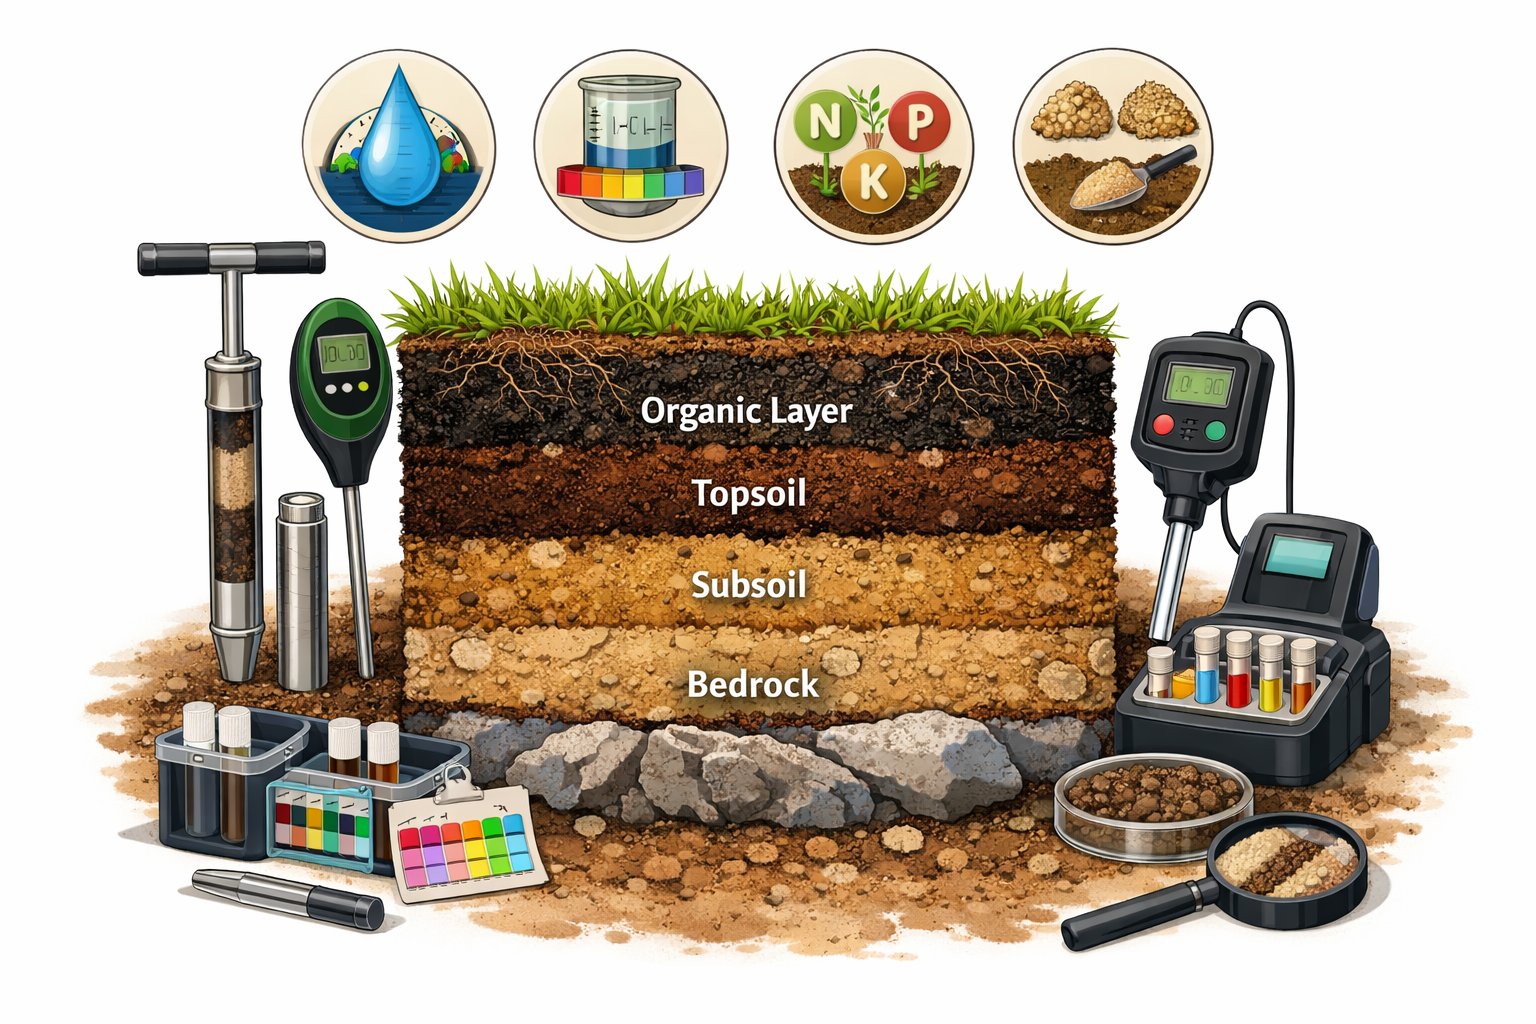
Physical Properties of Soil
Soil texture is about how much sand, silt, and clay is in your soil. This mix affects drainage, nutrient holding, and root growth.
Sandy soils drain fast but don’t hold nutrients well. Clay soils hang onto water and nutrients but can make it tough for roots to spread.
Organic matter is the amount of decomposed plant and animal stuff in the soil. More organic matter means better soil structure, water retention, and nutrient availability.
Most farm soils have between 1% and 6% organic matter. Some tests also check soil compaction and moisture, which influence how well roots can grow and reach what they need.
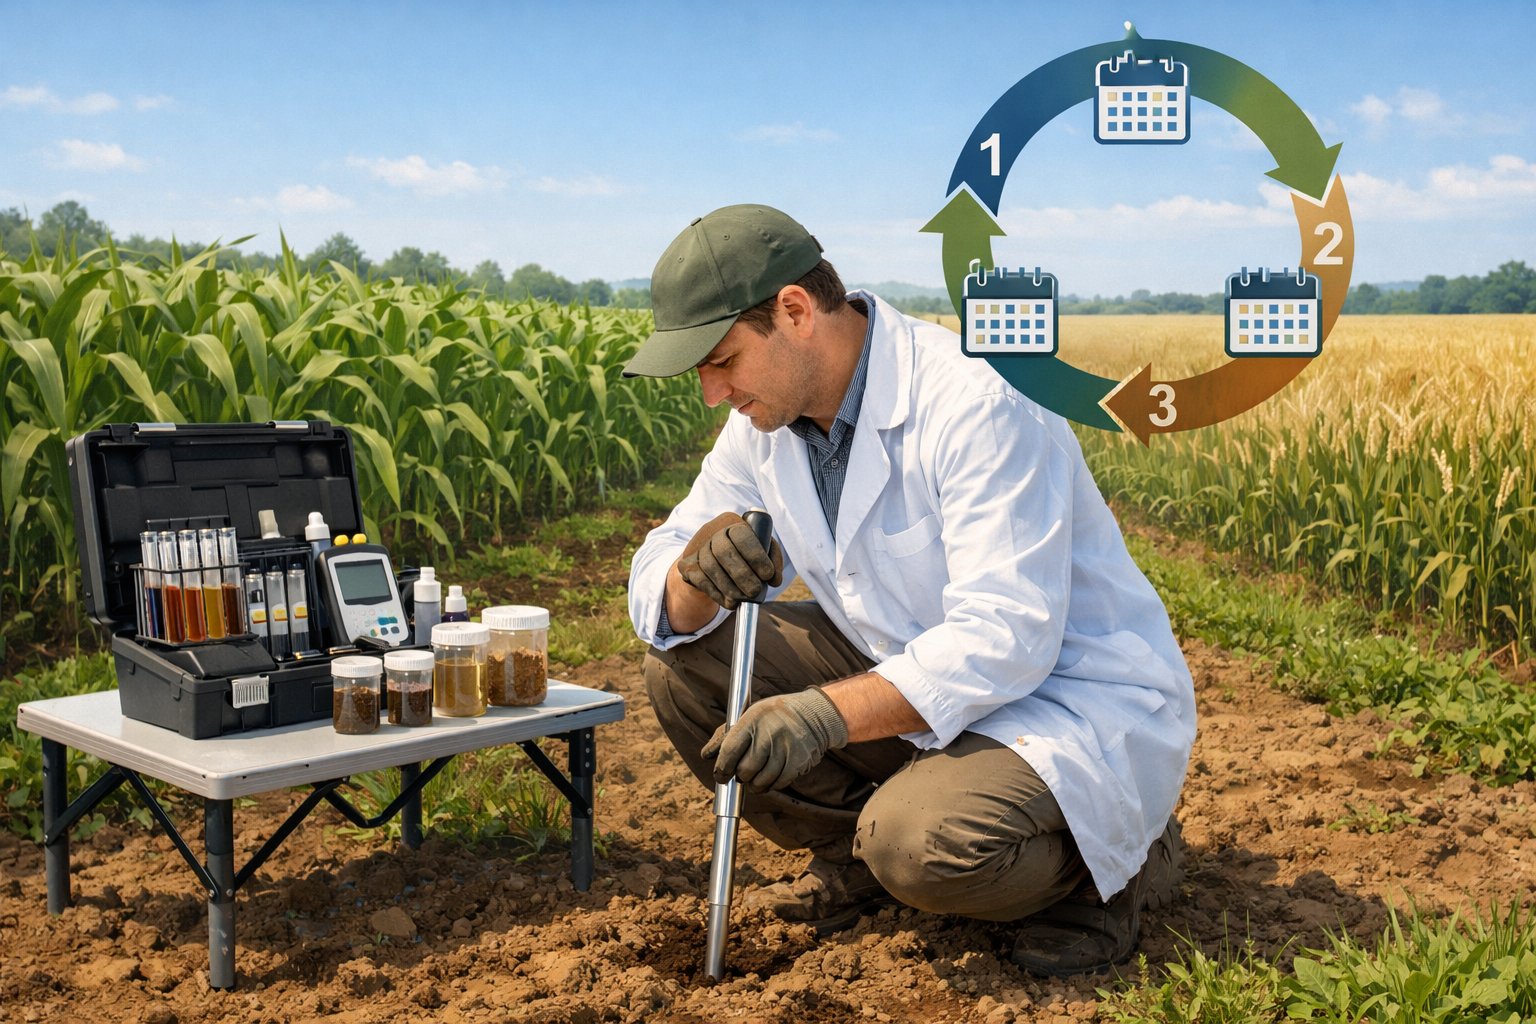
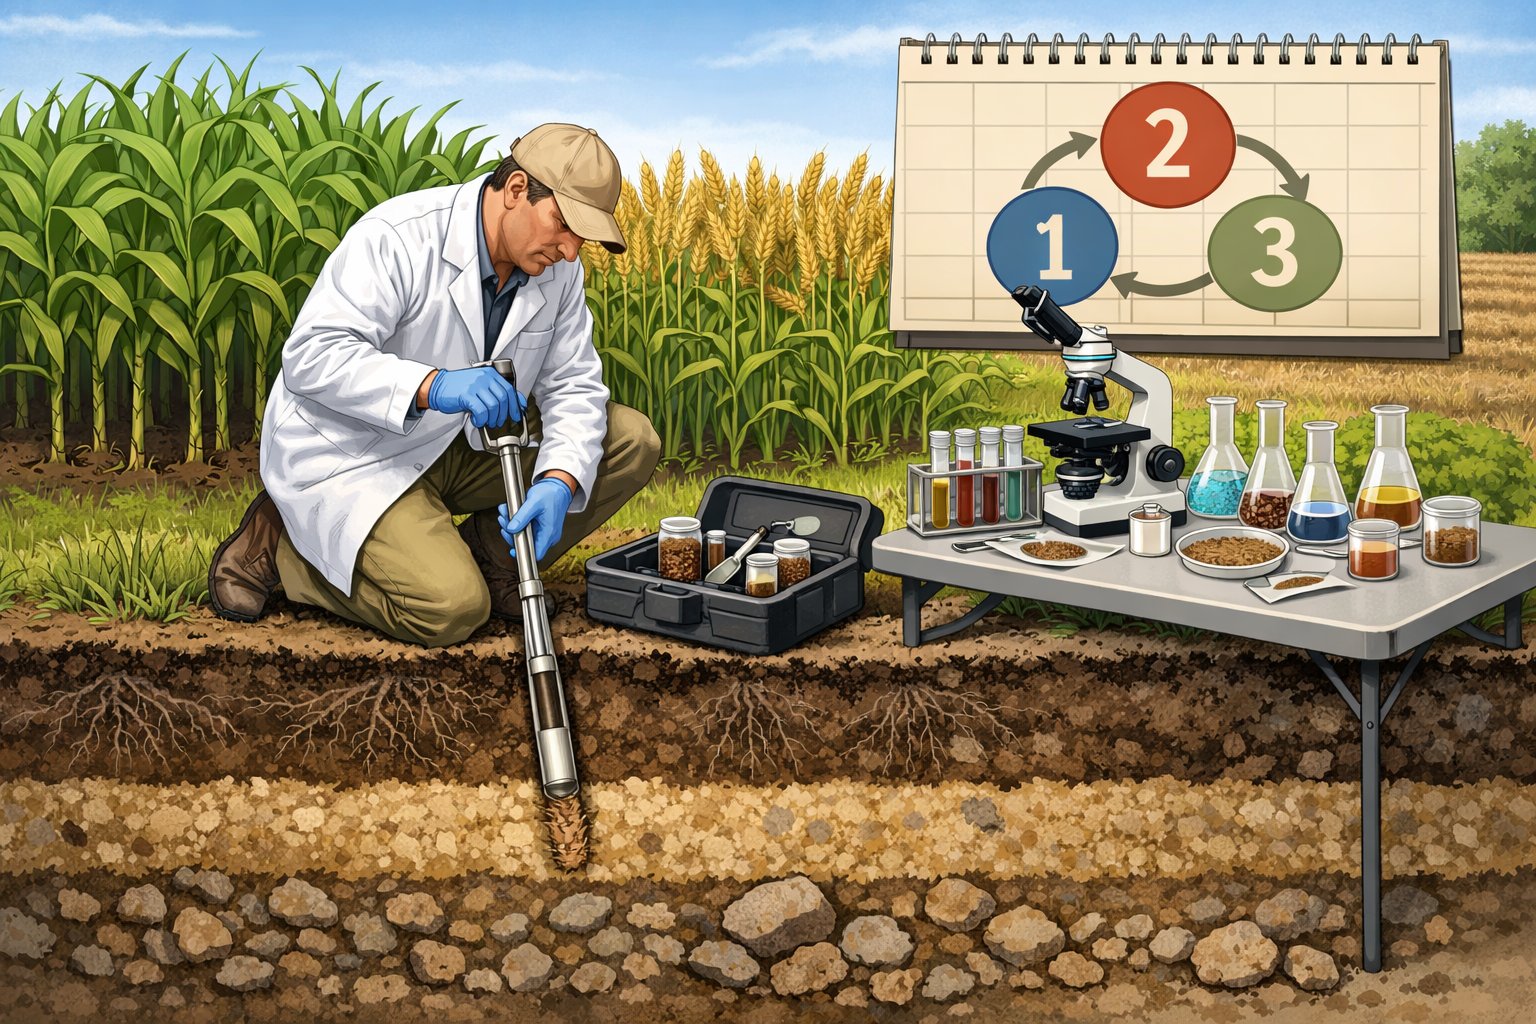
The Soil Testing Process
Soil testing has three main steps: collect samples, send them to a lab, and figure out what the results mean for your plants.
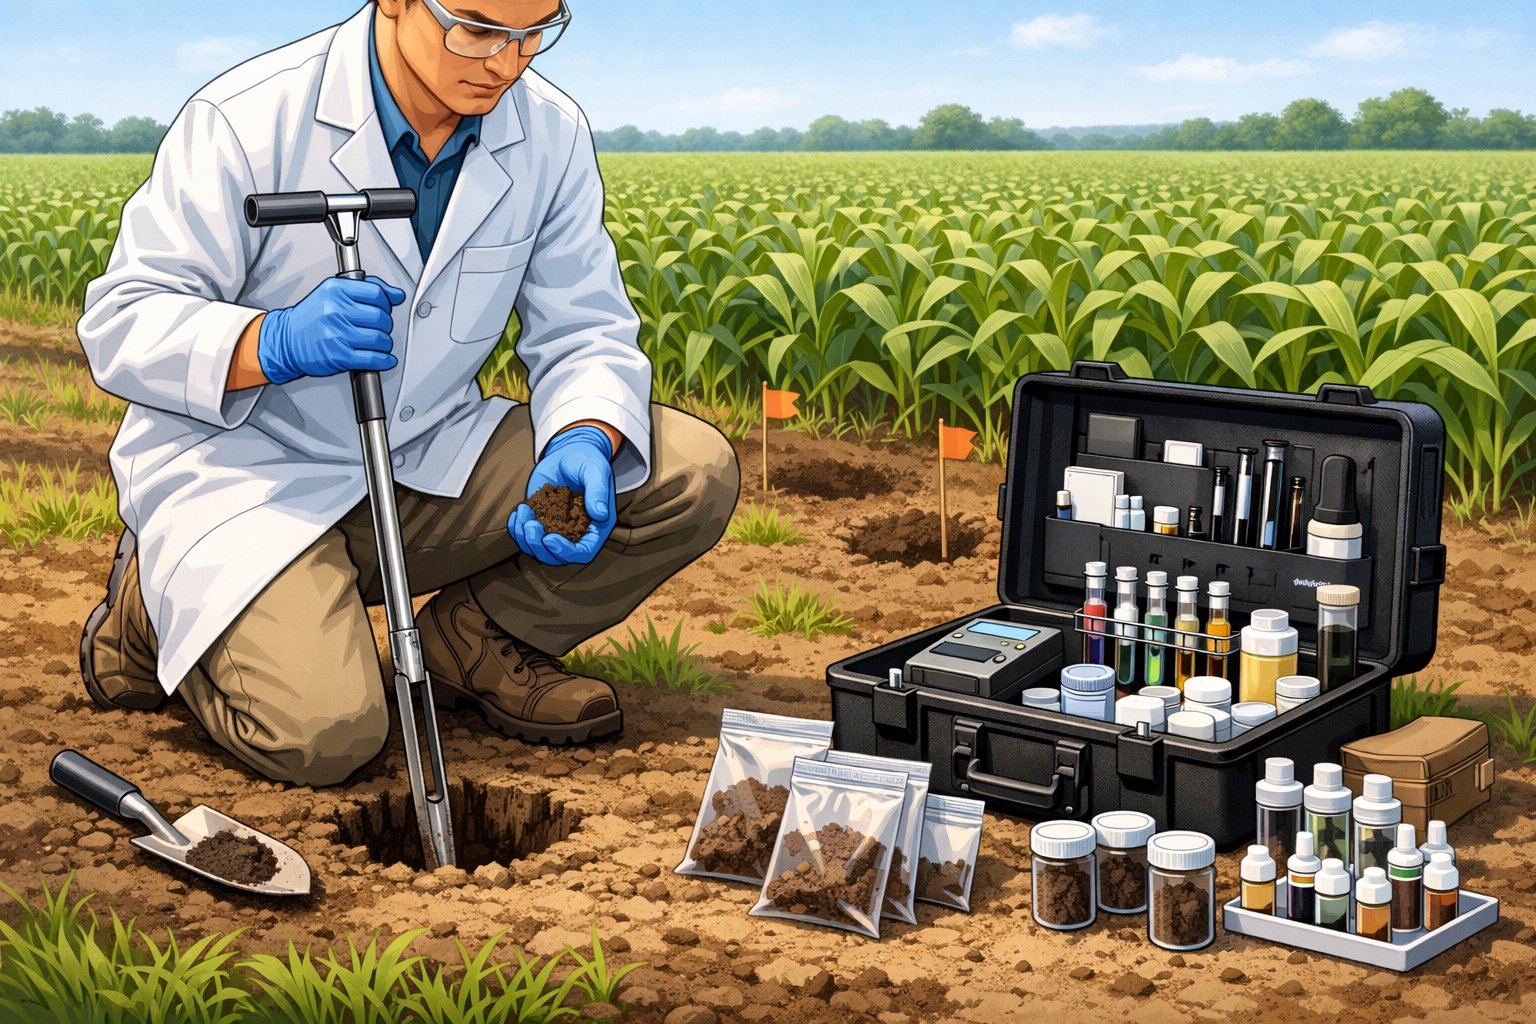
Sample Collection Methods
To get accurate results, collect soil from several spots in your test area. Aim for 10 to 15 samples from different locations within the same area, using a soil probe, auger, or even a clean
Dig down 6 to 8 inches for most beds and lawns. Mix all the samples together in a clean plastic bucket to make one composite sample.
Pick out rocks, roots, or plant bits. If the soil’s wet, let it air dry at room temperature—don’t use heat, or you’ll mess up the results.
Put about 1 to 2 cups of the mixed soil into a clean plastic bag or the container your lab gives you. Label it with your name, date, and where you took it from.
Try not to touch the soil with your bare hands to avoid contamination. It’s a small step, but it matters.
Laboratory Testing Procedures
Labs use chemical solutions to pull nutrients out of your soil sample. These solutions extract plant-available forms of phosphorus, potassium, calcium, magnesium, and more.
The lab measures nutrient levels with specialized equipment. They also check your soil’s pH, which really affects how plants take up nutrients.
Most labs use standard, approved methods to keep results consistent. Testing usually takes one to two weeks after your sample arrives.
Basic tests look at pH and major nutrients like nitrogen, phosphorus, and potassium. Advanced tests can check for micronutrients, organic matter, and soil texture.
Interpreting Soil Test Results
Your report shows nutrient levels as parts per million (ppm) or pounds per acre. Each nutrient gets rated as low, medium, or high based on what’s best for plant growth.
The pH scale runs from 0 to 14, with 7 as neutral. Most plants do best between 6.0 and 7.0.
Numbers below 6.0 mean your soil’s acidic. Above 7.0, it’s alkaline.
Your report includes fertilizer recommendations for what you want to grow. These suggestions tell you which nutrients to add and how much to use.
Stick to the recommended amounts. Too much fertilizer can hurt your plants and pollute groundwater.
Check the organic matter percentage in your results. For gardens, healthy soil usually contains 3% to 5% organic matter.
Timing and Frequency of Soil Testing
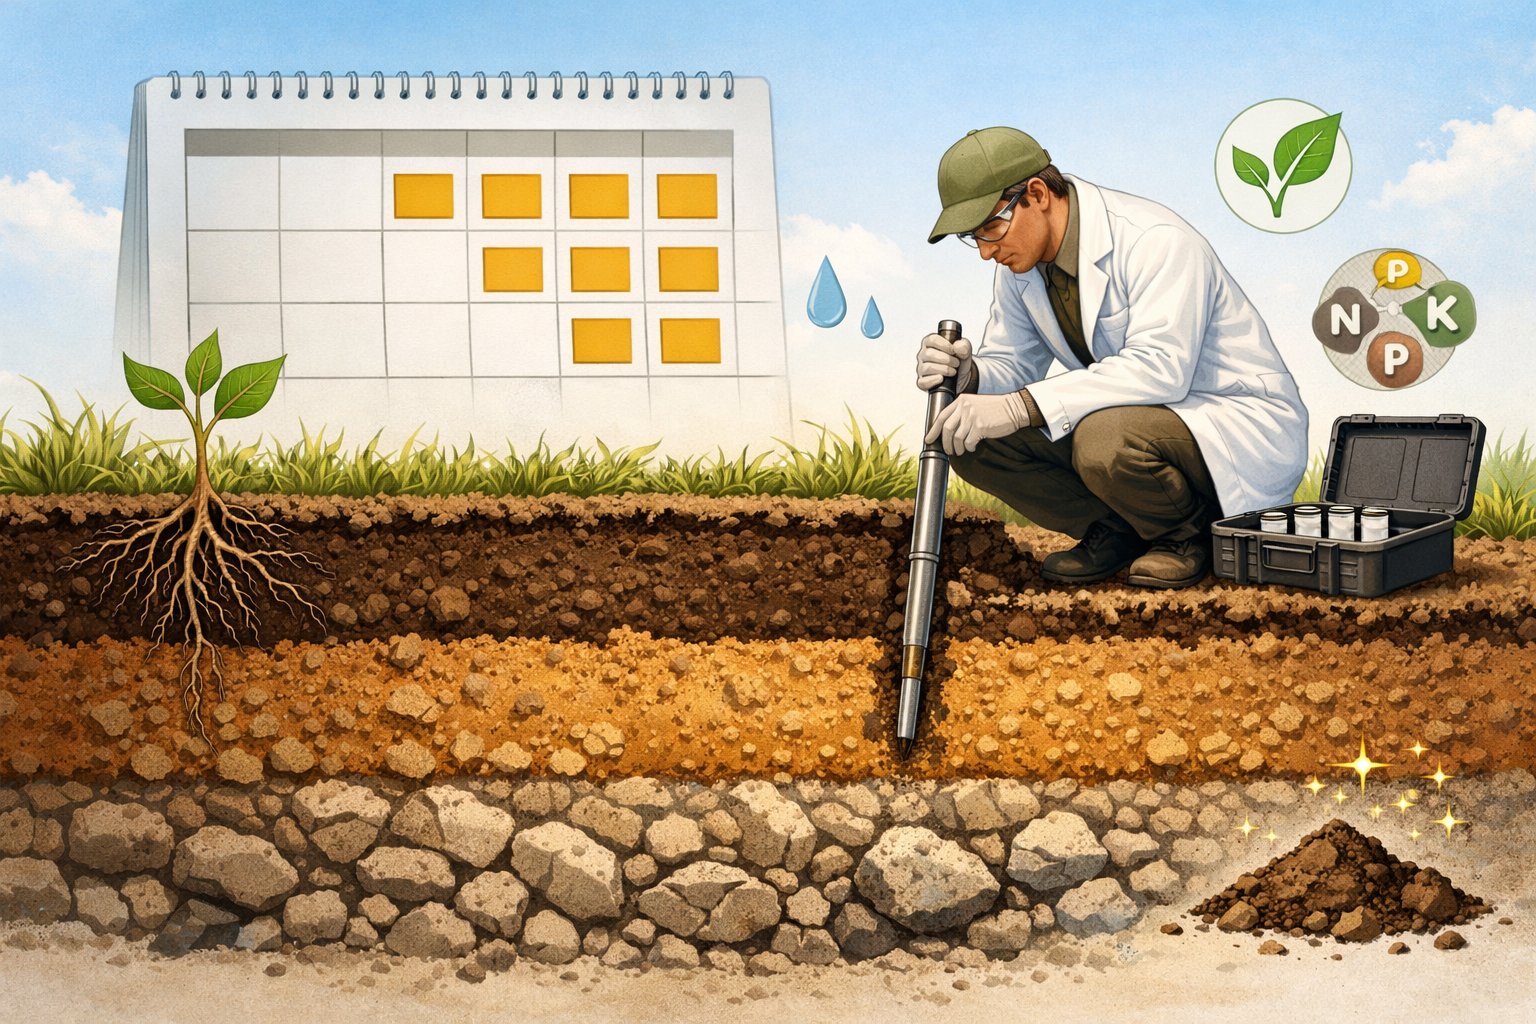
How often you test your soil depends on its type, how you use your land, and its current fertility. Most people get by with testing every 2-3 years, but some gardens need it every year and others can wait longer.
Optimal Testing Seasons
Fall is usually the best time to test your soil. The ground’s dry and easy to dig, and you’ll have time to add amendments like lime, which can take a few months to work.
If you want to track trends, sample at the same time each year. That way, you can actually compare results.
For cropland and veggie gardens, fall sampling works well since you can prep the soil before spring planting. If you test every year, do it before planting season so you know what your soil needs before you get started.
Factors Affecting Testing Intervals
Your soil type decides how often you should test. Sandy soils lose nutrients quickly because they drain fast, so test them every 1-2 years.
Clay soils hold nutrients better. You can get away with testing these every 3-4 years.
The intensity of your gardening matters too. If you grow annual crops like corn and vegetables, test every 1-2 years.
Lawns and ornamental areas with steady fertility only need testing every 2-3 years.
If you apply manure or fertilizers often, test your soil more frequently. These inputs change nutrient levels fast.
If plants start showing problems during the growing season, don’t wait—test right away. Gardens with ongoing issues should get yearly tests until things settle down.
How to Use Soil Test Results Effectively
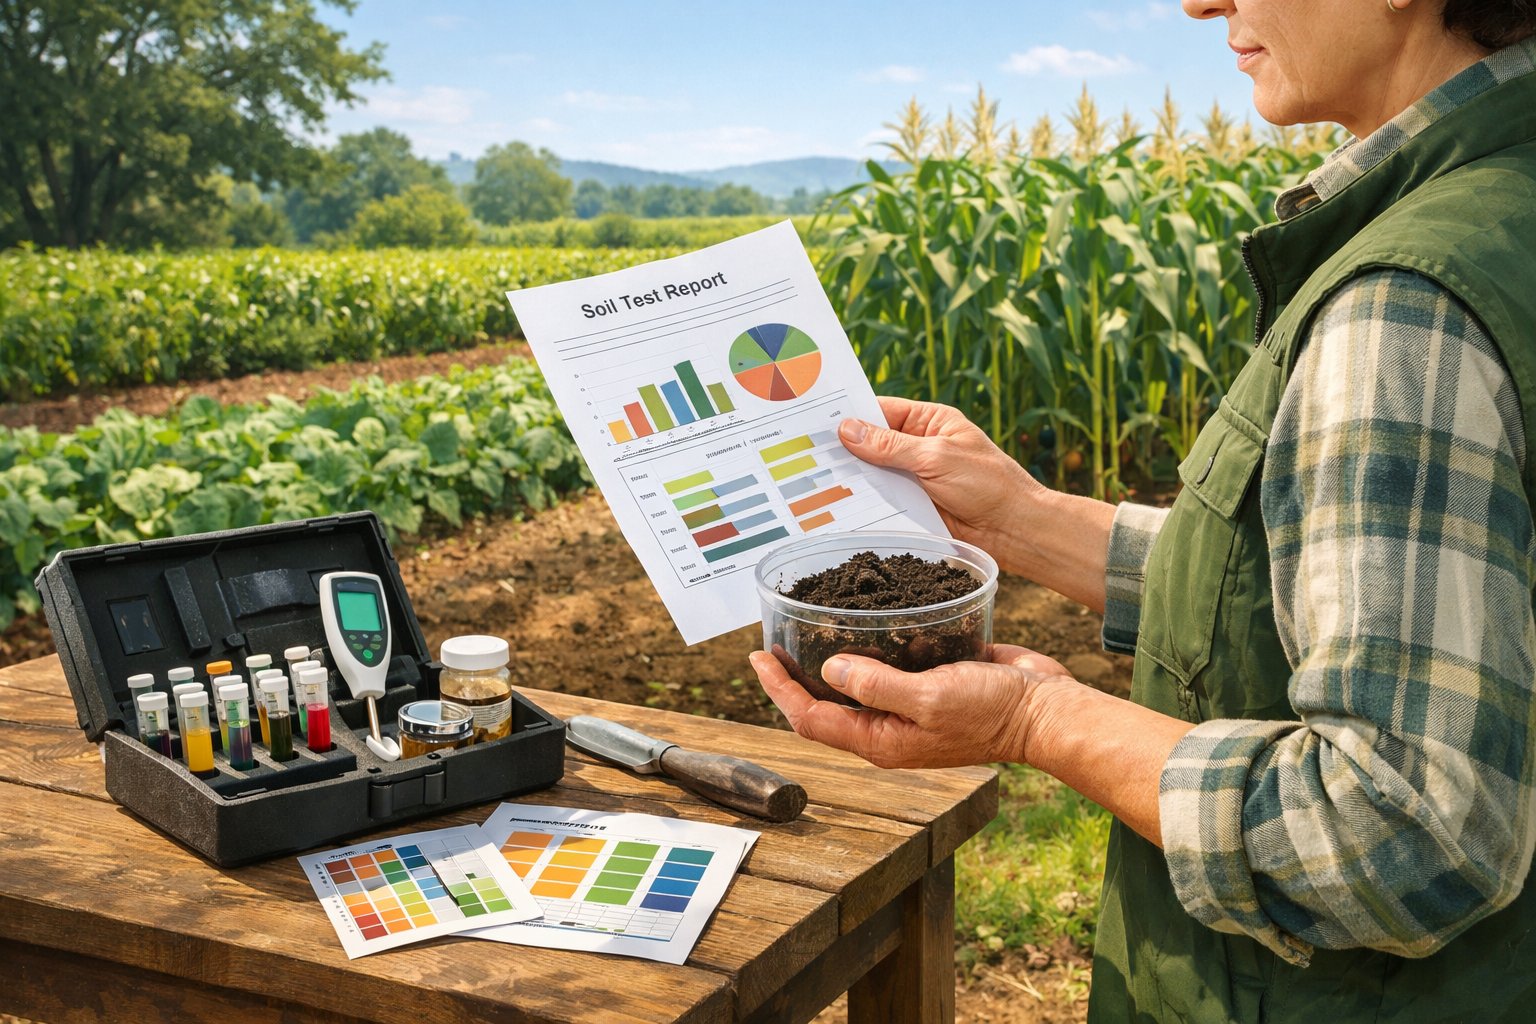
Soil test results give you real numbers for nutrient levels and pH. These results guide your fertilizer choices and help you improve your soil.
The numbers on your report translate directly into actions that make your soil healthier and more productive.
Adjusting Fertilizer Applications
Your soil test shows exact amounts of nitrogen, phosphorus, and potassium. These numbers tell you what to add—or skip.
Check if nutrient levels are low, medium, or high. Only add fertilizer for nutrients that are low or maybe medium.
Adding more when levels are already high wastes money and can actually harm your plants.
The report tells you how many pounds per 1,000 square feet you need for each nutrient. Match these numbers to the three values on fertilizer bags (like 10-10-10).
Calculate how much product you need based on your garden size. It’s not rocket science, but a little math goes a long way.
Key adjustments to make:
- Apply phosphorus only when tests show deficiency
- Reduce nitrogen if levels are adequate
- Skip potassium if readings are in the high range
- Retest in one year after major corrections
Sandy soils need smaller, more frequent applications since nutrients wash away faster. Clay soils can handle larger amounts less often.
Amending Soil for Long-Term Health
pH levels affect how plants absorb nutrients. Your test results show if your soil is too acidic (below 6.0) or too alkaline (above 7.5).
Add lime to raise pH in acidic soils. The report tells you how many pounds per 1,000 square feet you need.
Apply lime in fall so it has time to work before spring. For alkaline soil, lower the pH with sulfur or acidic organic matter.
Work amendments into the top 6 inches of soil. That’s where roots do most of their business.
Organic matter improves soil structure no matter the pH. Add compost every year—1-2 inches spread across your beds is plenty.
This builds nutrients slowly and helps soil hold water better. Track your amendments in a notebook with dates and amounts.
Compare results between tests every 2-3 years. You’ll start to see what works best for your unique patch of earth.
Common Mistakes to Avoid in Soil Testing
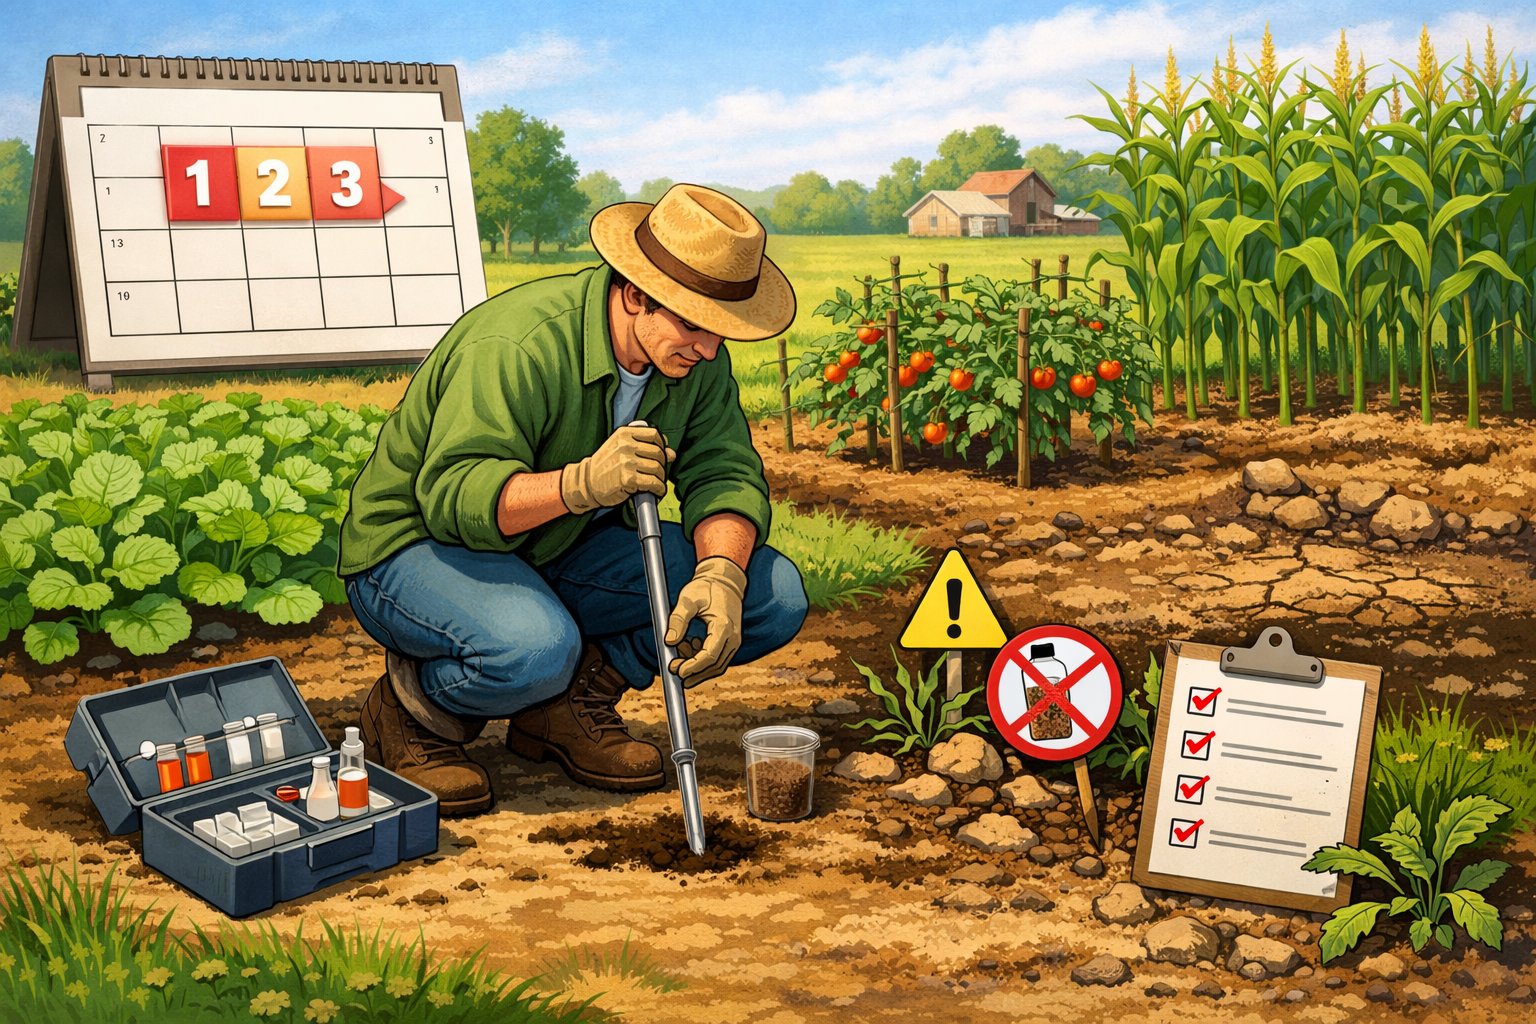
Soil testing accuracy hinges on how you collect samples and read the results. Simple mistakes in sampling or reading lab data can lead to wrong fertilizer applications and wasted money.
Improper Sampling Techniques
Your sampling method has a big impact on test accuracy. Almost 60% of incorrect soil test results come from poor sampling, not lab mistakes.
Key sampling errors include:
- Taking samples when soil is too wet or frozen
- Using dirty tools that contaminate samples
- Collecting soil from only one spot instead of multiple areas
- Mixing samples from different soil types together
- Sampling at the wrong depth for your needs
Don’t sample near roads, buildings, or places where lime or fertilizer was recently spilled. These spots won’t represent your whole garden.
Always use clean plastic buckets and tools to avoid contamination. Take 10 to 15 samples across each area and mix them together for an average reading.
This gives you more reliable results than relying on just one spot. It’s a little extra work, but it’s worth it.
Misinterpretation of Data
If you misread your soil test report, you’ll likely make the wrong amendments. Each number on the report means something specific.
Look at pH levels first. For most plants, 6.0 to 7.0 is the sweet spot.
Numbers outside that range mean you might need lime or sulfur. Nutrient levels show as low, medium, or high—add fertilizer only for the lows.
Don’t dump all recommended amendments at once. Spread out big pH corrections over several months.
Heavy applications can shock your plants or throw off the soil balance. Compare your current results with past tests—sudden changes might just be sampling errors.
Advancements in Soil Testing Technology
Modern technology has really changed soil testing. New digital tools and satellites make testing faster and more accurate than old-school lab methods.
Digital Soil Analysis Tools
Portable sensors and smartphone apps let you test soil right in the field. These gadgets measure pH, nitrogen, phosphorus, and potassium within minutes.
Handheld spectrometers use light waves to check nutrient content—no need to send samples away. Just press the device into the soil and read the numbers on a screen.
Some models connect to your phone via Bluetooth and save data from different spots. Smart probes stay in the ground and send updates about moisture levels and nutrient changes.
You can check soil conditions from anywhere using an app. Real-time monitoring lets you catch problems before they affect your plants.
Many digital tools cost less than repeated lab tests over the years. They also cut down on chemicals needed for traditional testing.
Remote Sensing and Mapping Innovations
Drones and satellites now scan big fields to create detailed soil maps. Special cameras spot differences in soil composition across your property.
Drone-mounted sensors take images that show nutrient variations, compaction zones, and drainage problems. The data turns into color-coded maps so you can treat specific areas instead of the whole field.
GPS-integrated soil mapping combines satellite data with ground samples for precise nutrient profiles. The maps guide spreaders that apply the right amount of fertilizer in each zone.
This precision saves money and prevents over-application where it’s not needed. These mapping systems work best for properties bigger than five acres.
They can reveal patterns that single-point sampling would miss. Kind of amazing, honestly.
Environmental and Economic Benefits of Regular Soil Testing
Regular soil testing helps you protect the environment and save money. When you test every three years, you can apply just the right amount of fertilizer your crops need.
This keeps excess nutrients from washing into streams and groundwater. It’s a win for both your wallet and the planet.
Environmental advantages include:
- Reduced chemical runoff into water systems
- Lower risk of soil pollution
- Better soil health over time
- Decreased carbon footprint from unnecessary fertilizer production
Testing your soil leads to direct cost savings. You don’t waste money on fertilizers your soil doesn’t need.
When you know what’s already there, you only buy what’s missing. It’s simple but effective.
Economic benefits you can expect:
- Lower fertilizer costs through targeted applications
- Higher crop yields from properly balanced soil
- Reduced waste from over-application
- Better long-term soil productivity
Your test results help you move toward sustainable practices. You can track changes and adjust your approach as needed.
This helps keep your soil in good shape for future seasons. The data from regular testing lets you spot problems early—before they hurt your yields.
Testing every three years gives you enough info to manage your soil without breaking the bank. Over time, you’ll build healthier soil that needs fewer inputs and delivers better results.
Selecting a Qualified Soil Testing Laboratory
Picking the right lab really shapes how useful your soil test results end up being. You want a place that relies on reliable testing methods and actually gives advice you can use for your own crops or plants.
Try to find labs that use the Mehlich-3 extractant for nutrient testing. It’s a trusted method and usually gives steady results, no matter what kind of soil you’re working with.
Many state agricultural extension services run their own testing labs, and honestly, these can be a great deal. They tend to keep costs down and know the lay of the land.
Key factors to consider when selecting a lab:
- Accreditation or certification status
- Testing methods used
- Turnaround time for results
- Cost of basic and specialized tests
- Quality of fertilizer recommendations provided
State university labs usually offer recommendations that make sense for your region. They know the local soil quirks and can suggest fertilizer rates that line up with your state’s guidelines.
Private labs can do a solid job too. Just check if they’ve worked with your soil type and crops before. Ask which testing methods they use and how they come up with their suggestions.
Stick with the same lab each time you test your soil. That way, you’ll get consistent data and can actually see how things change year to year.
Different labs sometimes use different methods, which can mess with your ability to compare results over time.
When you get your results, ask for a report that covers pH, nutrient concentrations, and specific application rates. The best labs break down what your numbers mean and give you clear, actionable steps to help your soil thrive.